There’s something undeniably comforting about a warm, freshly baked chocolate chip cookie. Whether it’s the nostalgic aroma that fills your home or the delightful combination of a chewy center and crispy edge, chocolate chip cookies have a special place in our hearts. But achieving that perfect balance between chewy and crispy can be a challenge. Fear not! In this blog post, we’ll share a foolproof recipe for chocolate chip cookies that delivers the best of both worlds. Plus, we’ll include tips for customizing the recipe with different mix-ins to suit your taste.
And to make your baking experience even sweeter, we’ll highlight two products that will add to the cozy atmosphere in your kitchen: the Cookie Jar Warmer and the Cookie Shoppe Wax Melt.
The Perfect Chocolate Chip Cookie Recipe
Ingredients:
– 1 cup unsalted butter, softened
– 1 cup granulated sugar
– 1 cup brown sugar, packed
– 2 large eggs
– 1 teaspoon vanilla extract
– 2 ¾ cups all-purpose flour
– 1 teaspoon baking soda
– ½ teaspoon baking powder
– 1 teaspoon salt
– 2 cups semisweet chocolate chips
Instructions:
1. Preheat your oven to 350°F (175°C). Line two baking sheets with parchment paper or silicone baking mats.
2. In a large mixing bowl, cream together the butter, granulated sugar, and brown sugar until light and fluffy. This should take about 2-3 minutes with an electric mixer on medium speed.
3. Add the eggs one at a time, beating well after each addition. Then, mix in the vanilla extract.
4. In a separate bowl, whisk together the flour, baking soda, baking powder, and salt. Gradually add the dry ingredients to the wet ingredients, mixing until just combined. Be careful not to overmix, as this can make the cookies tough.
5. Stir in the chocolate chips until evenly distributed throughout the dough.
6. Scoop out the dough using a cookie scoop or spoon, and place the dough balls on the prepared baking sheets, spacing them about 2 inches apart.
7. Bake for 10-12 minutes, or until the edges are golden brown, and the centers are just set. For chewier cookies, slightly underbake them, and for crispier cookies, leave them in the oven for an extra minute or two.
8. Remove the cookies from the oven and allow them to cool on the baking sheets for 5 minutes before transferring them to a wire rack to cool completely.
Tips for Achieving the Perfect Texture:
Room Temperature Ingredients: Ensure your butter and eggs are at room temperature before starting. This helps create a smooth and evenly mixed dough.
Chill the Dough (Optional): For a thicker, chewier cookie, chill the dough for at least 30 minutes before baking. This also helps prevent the cookies from spreading too much in the oven.
Don’t Overmix: Once you add the dry ingredients to the wet, mix just until combined. Overmixing can lead to tough cookies.
Bake on the Middle Rack: For even baking, place your cookie sheets on the middle rack of your oven. If you’re baking multiple trays, rotate them halfway through the baking time.
Customizing Your Cookies:
One of the best things about chocolate chip cookies is how versatile they are. Here are some ideas to make this recipe your own:
Nuts: Add 1 cup of chopped nuts like walnuts, pecans, or almonds for extra crunch.
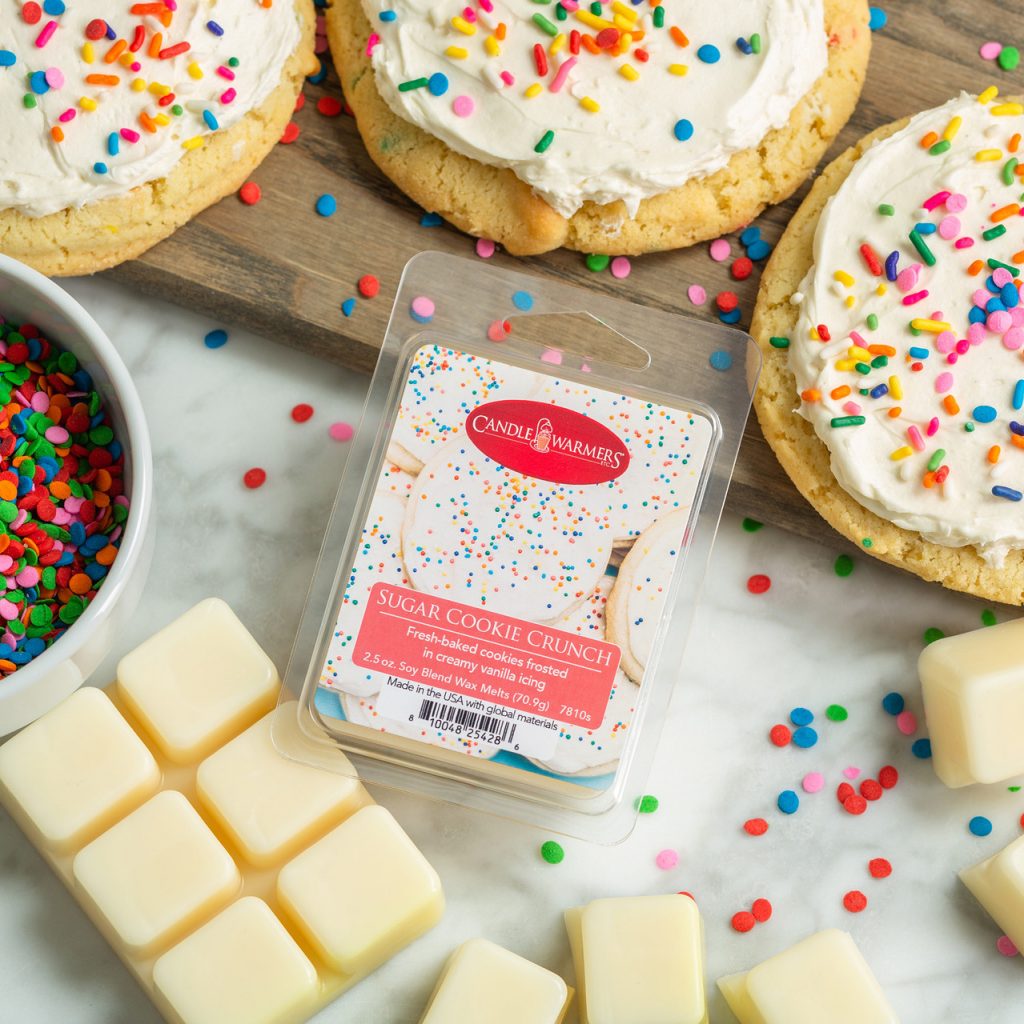
Different Chips: Swap out the semisweet chocolate chips for dark chocolate, white chocolate, or even butterscotch chips.
Dried Fruit: Mix in ½ cup of dried cranberries, raisins, or chopped dried apricots for a chewy, fruity twist.
Coconut: Add ½ cup of shredded coconut for a tropical flavor.
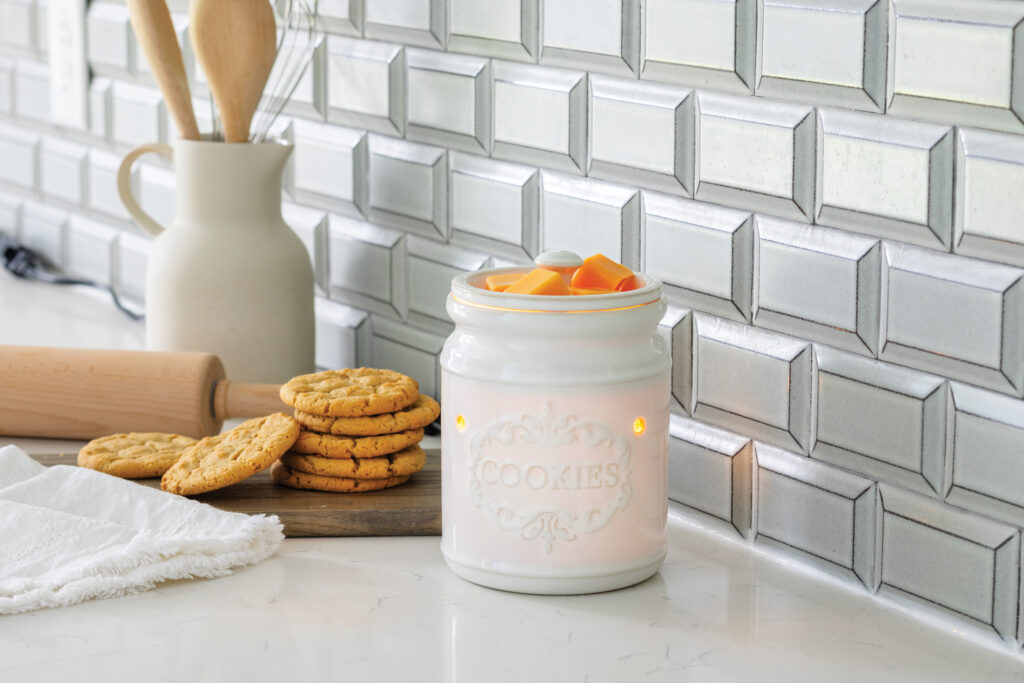
Create a Cozy Atmosphere with the Cookie Jar Warmer and Cookie Shoppe Wax Melt
While your cookies are baking, why not enhance the cozy, nostalgic atmosphere in your kitchen with the Cookie Jar Warmer and Cookie Shoppe Wax Melt?
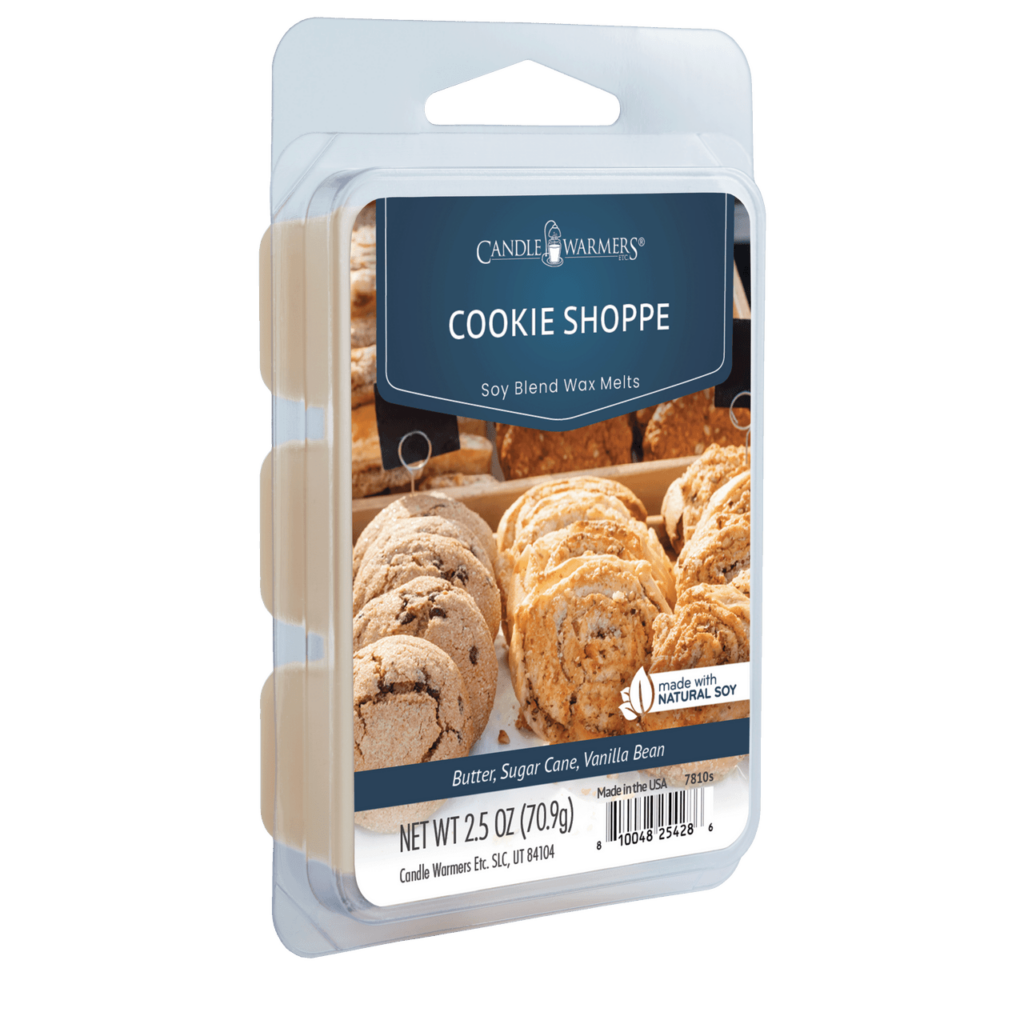
The Cookie Jar Warmer is a charming, decorative warmer that looks just like a classic cookie jar. It’s perfect for adding a touch of whimsy to your kitchen decor. Pair it with the Cookie Shoppe Wax Melt to fill your home with the mouthwatering aroma of freshly baked cookies, even when you’re not actually baking. This delightful wax melt captures the scent of warm cookies straight from the oven, with notes of rich vanilla, brown sugar, and buttery goodness. It’s the perfect complement to your baking sessions and a surefire way to make your home feel warm and inviting.
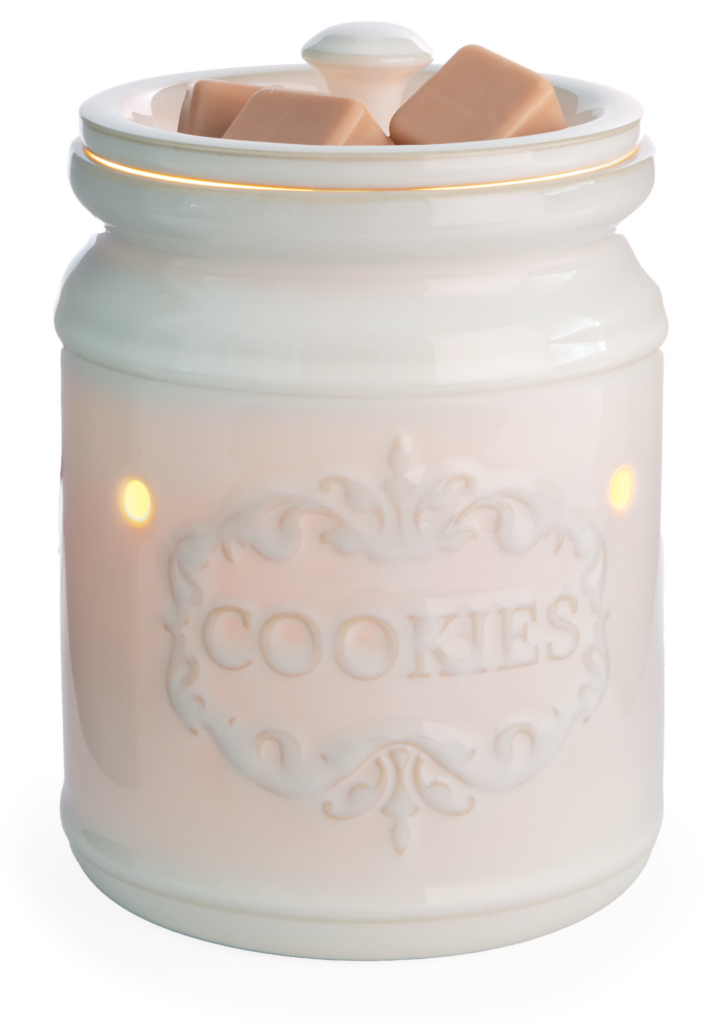
Try our Cookie Jar Warmer
Try our Cookie Shoppe Wax Melts
There’s nothing quite like biting into a perfectly baked chocolate chip cookie, especially when it strikes the perfect balance between chewy and crispy. With this foolproof recipe and tips, you’ll be able to bake cookies that are sure to impress family and friends. And with the Cookie Jar Warmer and Cookie Shoppe Wax Melt, you can enjoy that freshly baked cookie scent whenever you like, creating a cozy, welcoming atmosphere in your home.
So, why wait? Gather your ingredients, preheat your oven, and get ready to bake the ultimate chocolate chip cookies that everyone will love. Happy baking!